Showing posts with label The 4 Modes. Show all posts

Sunday, May 18, 2014

The Mixer Mode

The Mixer mode gives you access to essential mixing controls in Live: volume, pan, sends, clip stop, track activation, solo and record/arm. The directional arrows to change the focus of the session view rectangle are still accessible in Mixer mode.


The mixer overview


This is the view displayed when pressing the Mixer button. It provides an overview of the main mixing controls in Live.

Each vertical column represents an audio or MIDI track on session view in ableton.

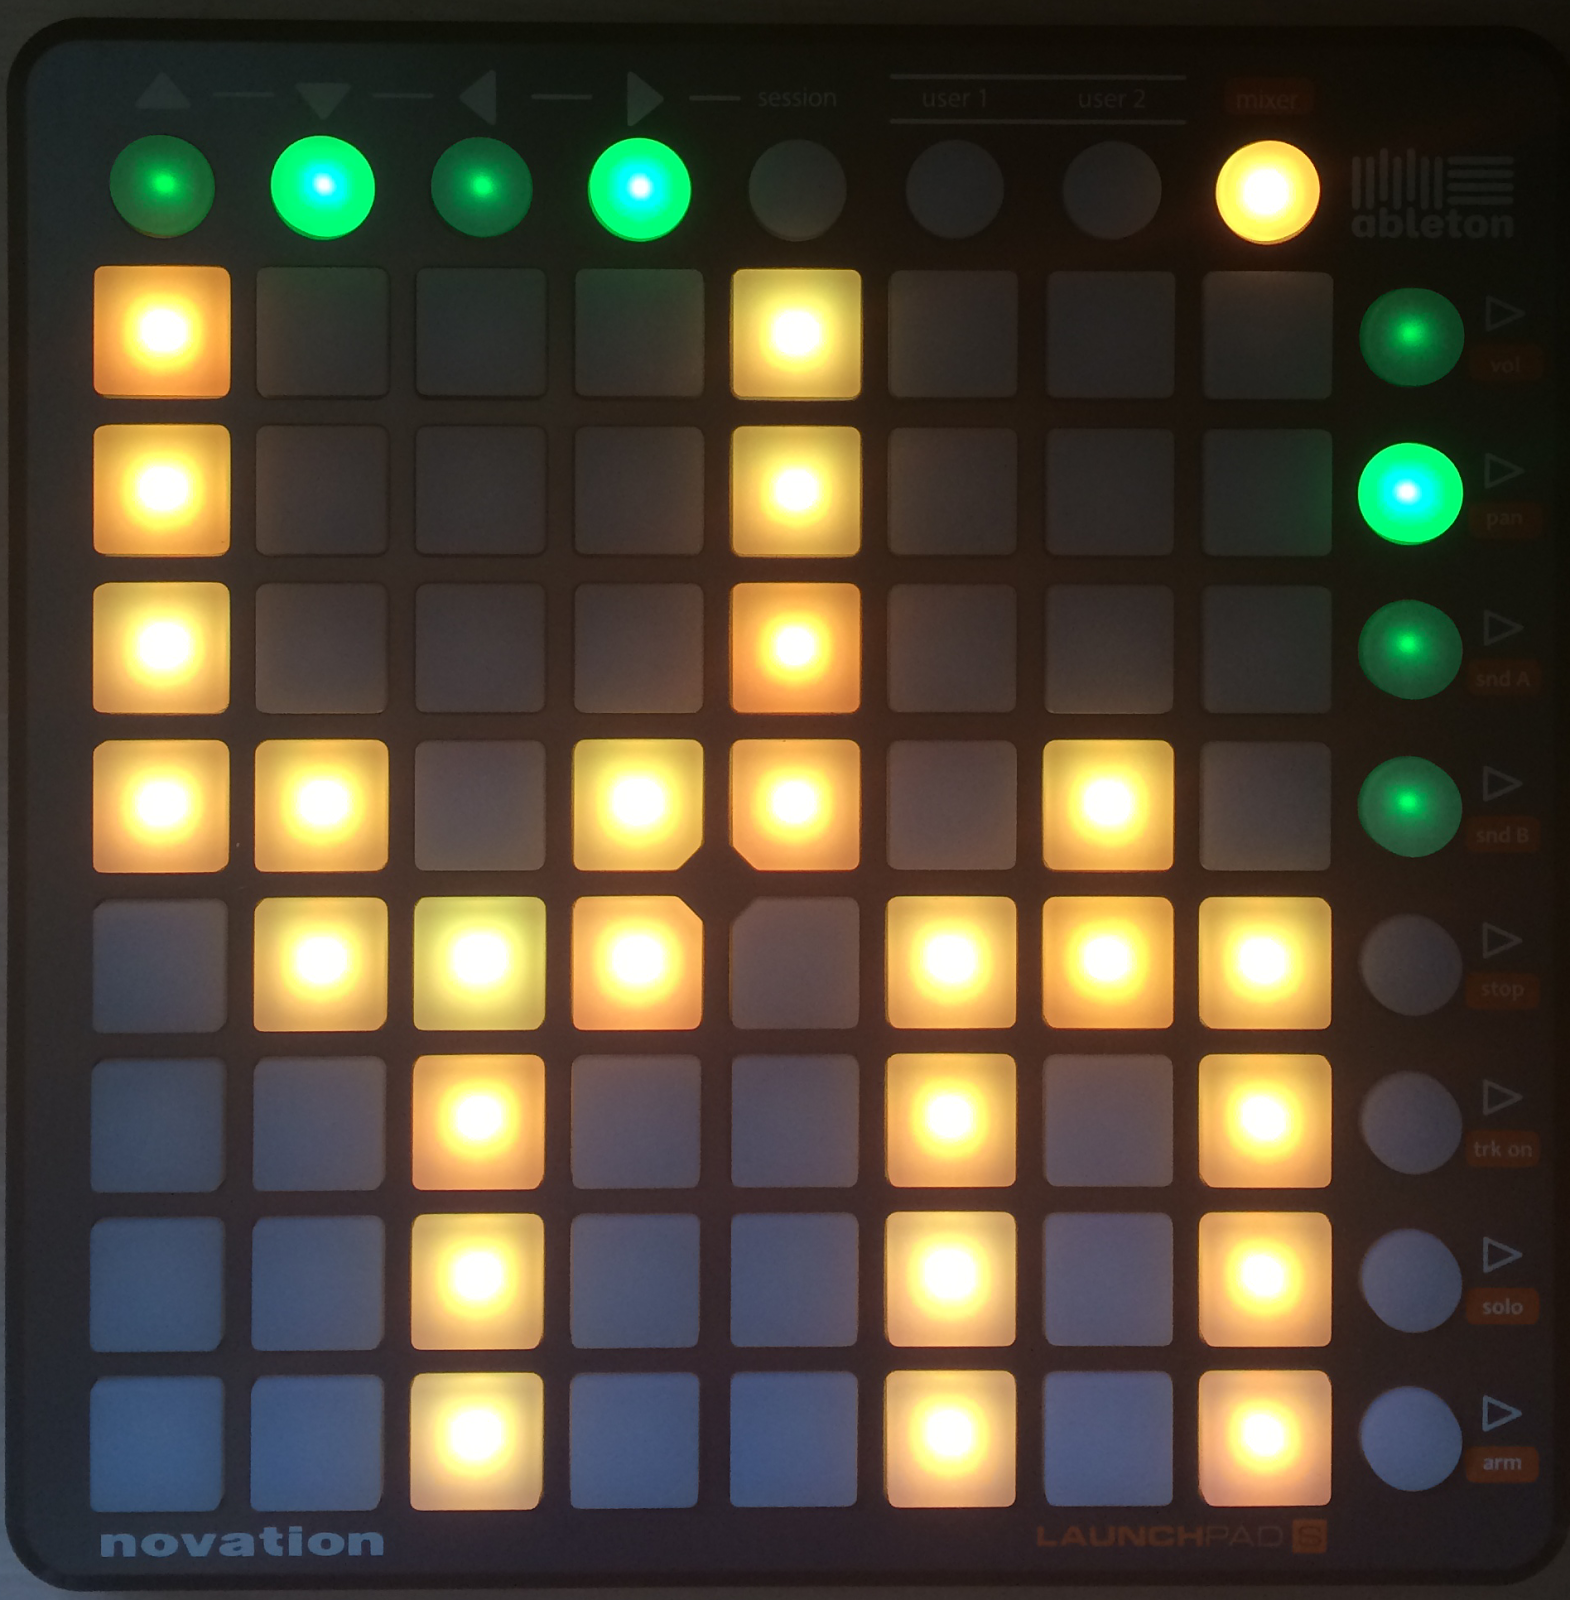
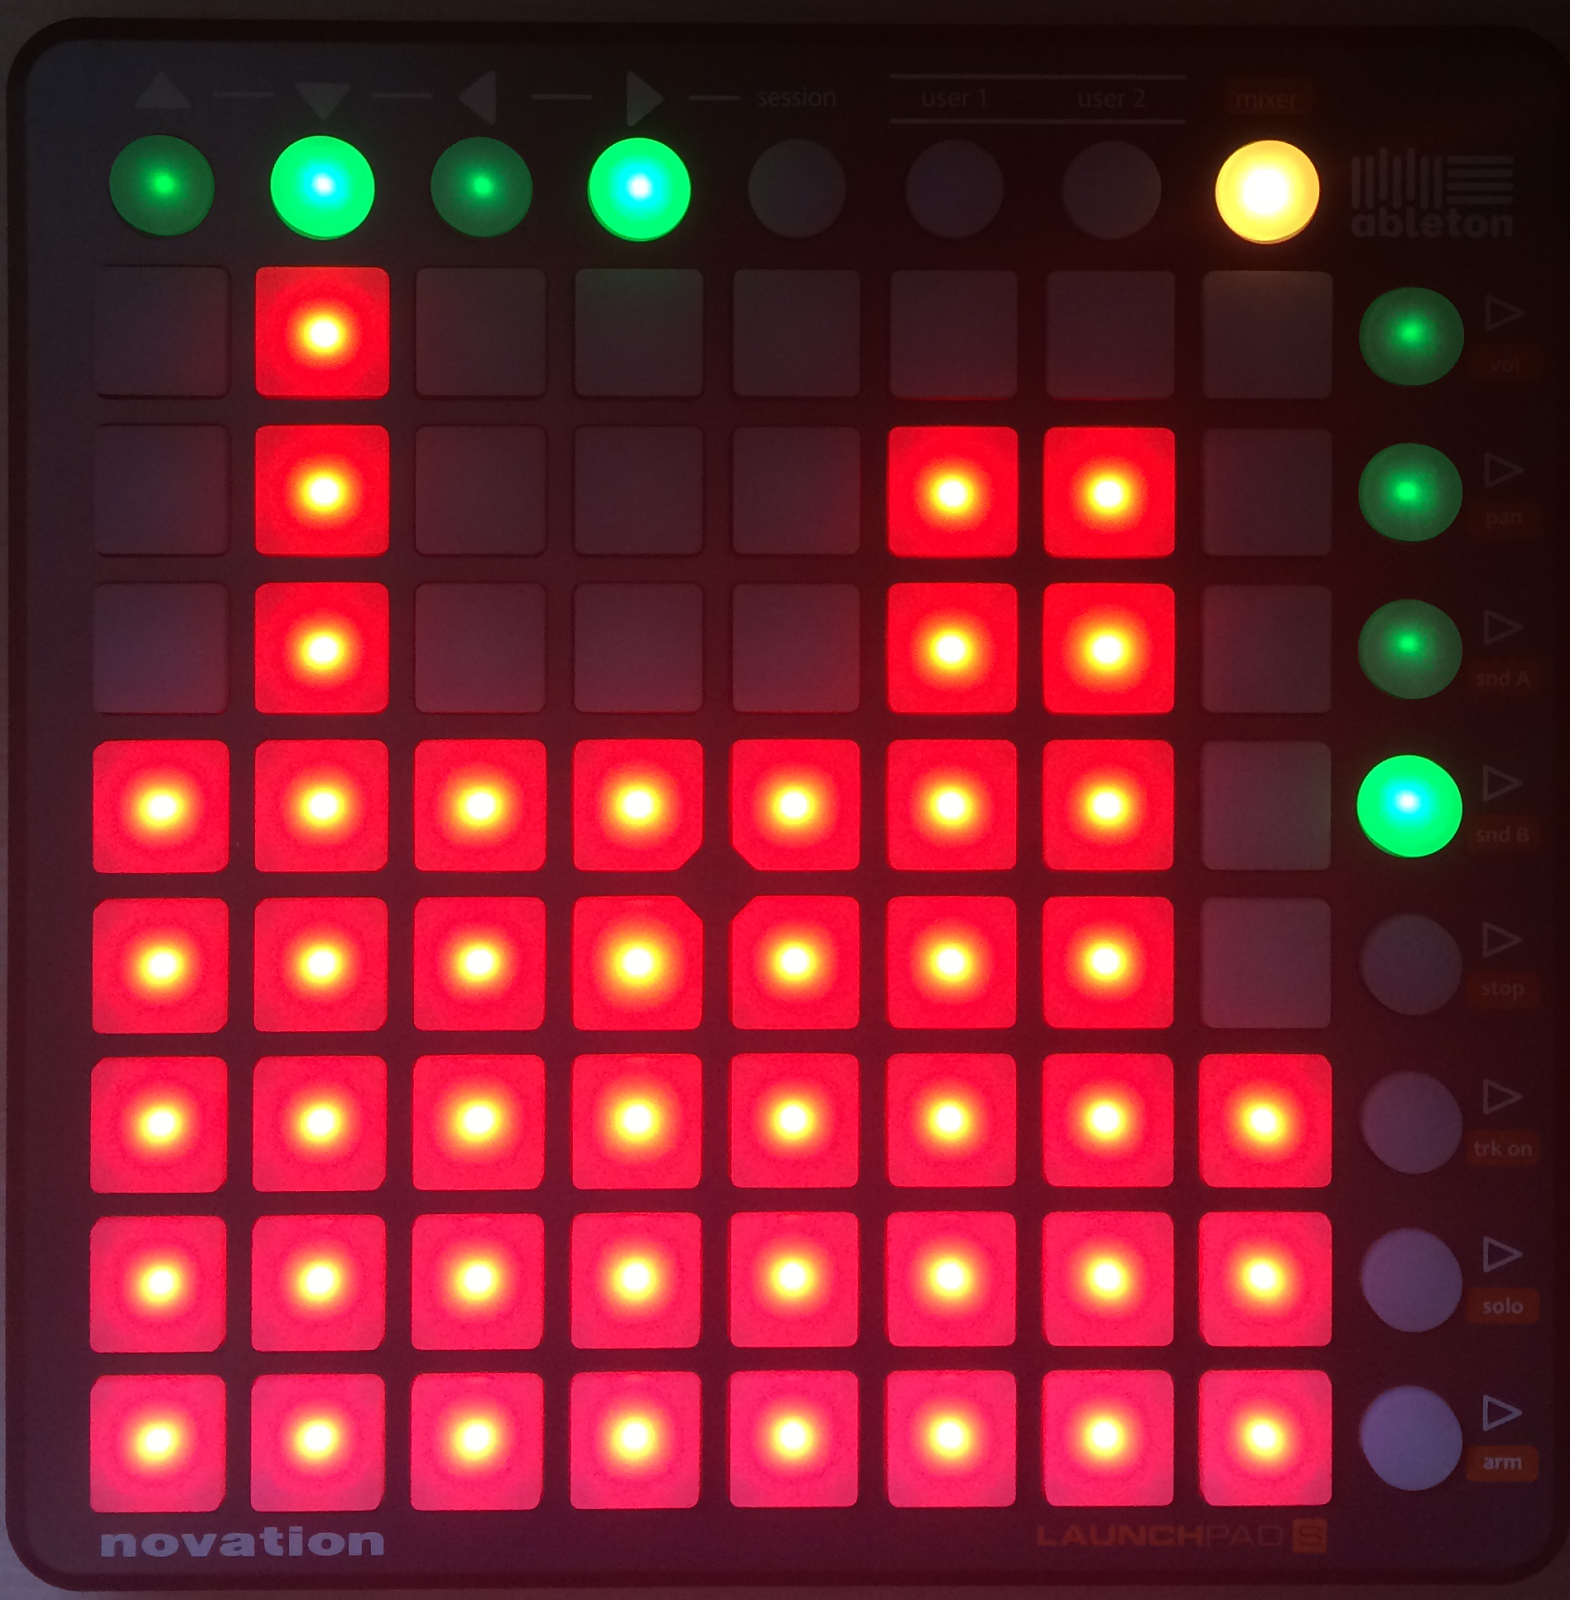
The top four rows of pads indicate the status of track volume and track pan, as well as sends A and B, for each track:

- if the parameter is at its default value, the pad is dimmed
- if the parameter is NOT at its default value, the pad is fully lit. Hitting the pad will instantly set the parameter to its default value (0 dB for volume, center for pan, 0 for sends).


The bottom four rows of pads and the bottom four buttons on the right provide direct access to key controls for each track:

- pads in the ”stop” row will stop the clip currently playing in this track
- pads in the ”trk on” row will mute this track (the pads turn off)
- pads in the ”solo” row will solo this track
- pads in the ”arm” row will arm this track


The bottom four side-buttons on the right provide additional control for each track:

- the ”stop” button will stop all clips currently playing
- the ”trk on” button will mute all tracks (all pads turn off)
- the ”solo” button will un-solo all soloed tracks
- the ”arm” button will un-arm all armed tracks


The top four right side-buttons open designated pages:

-The first button will open the Volume page
-The second button will open the Pan page
-The third button will open the Sends A page
-The fourth button will open the Sends B page


Here is an explanation on how the designated pages work:

The Volume page

Pressing the first side-button (vol) will take you to the volume page.

The volume page uses horizontal lines to control the volume of the audio or midi tracks in Ableton.

Each column corresponds to a track and all eight pads of a column turn into a track volume ”fader”. The pads have the following values in dB, from bottom to top: -inf, -48, -24, -18, -12, -6, 0, +6.
All pads below (and including) the selected value light up in full brightness to indicate the ”fader position.”


The Pan page
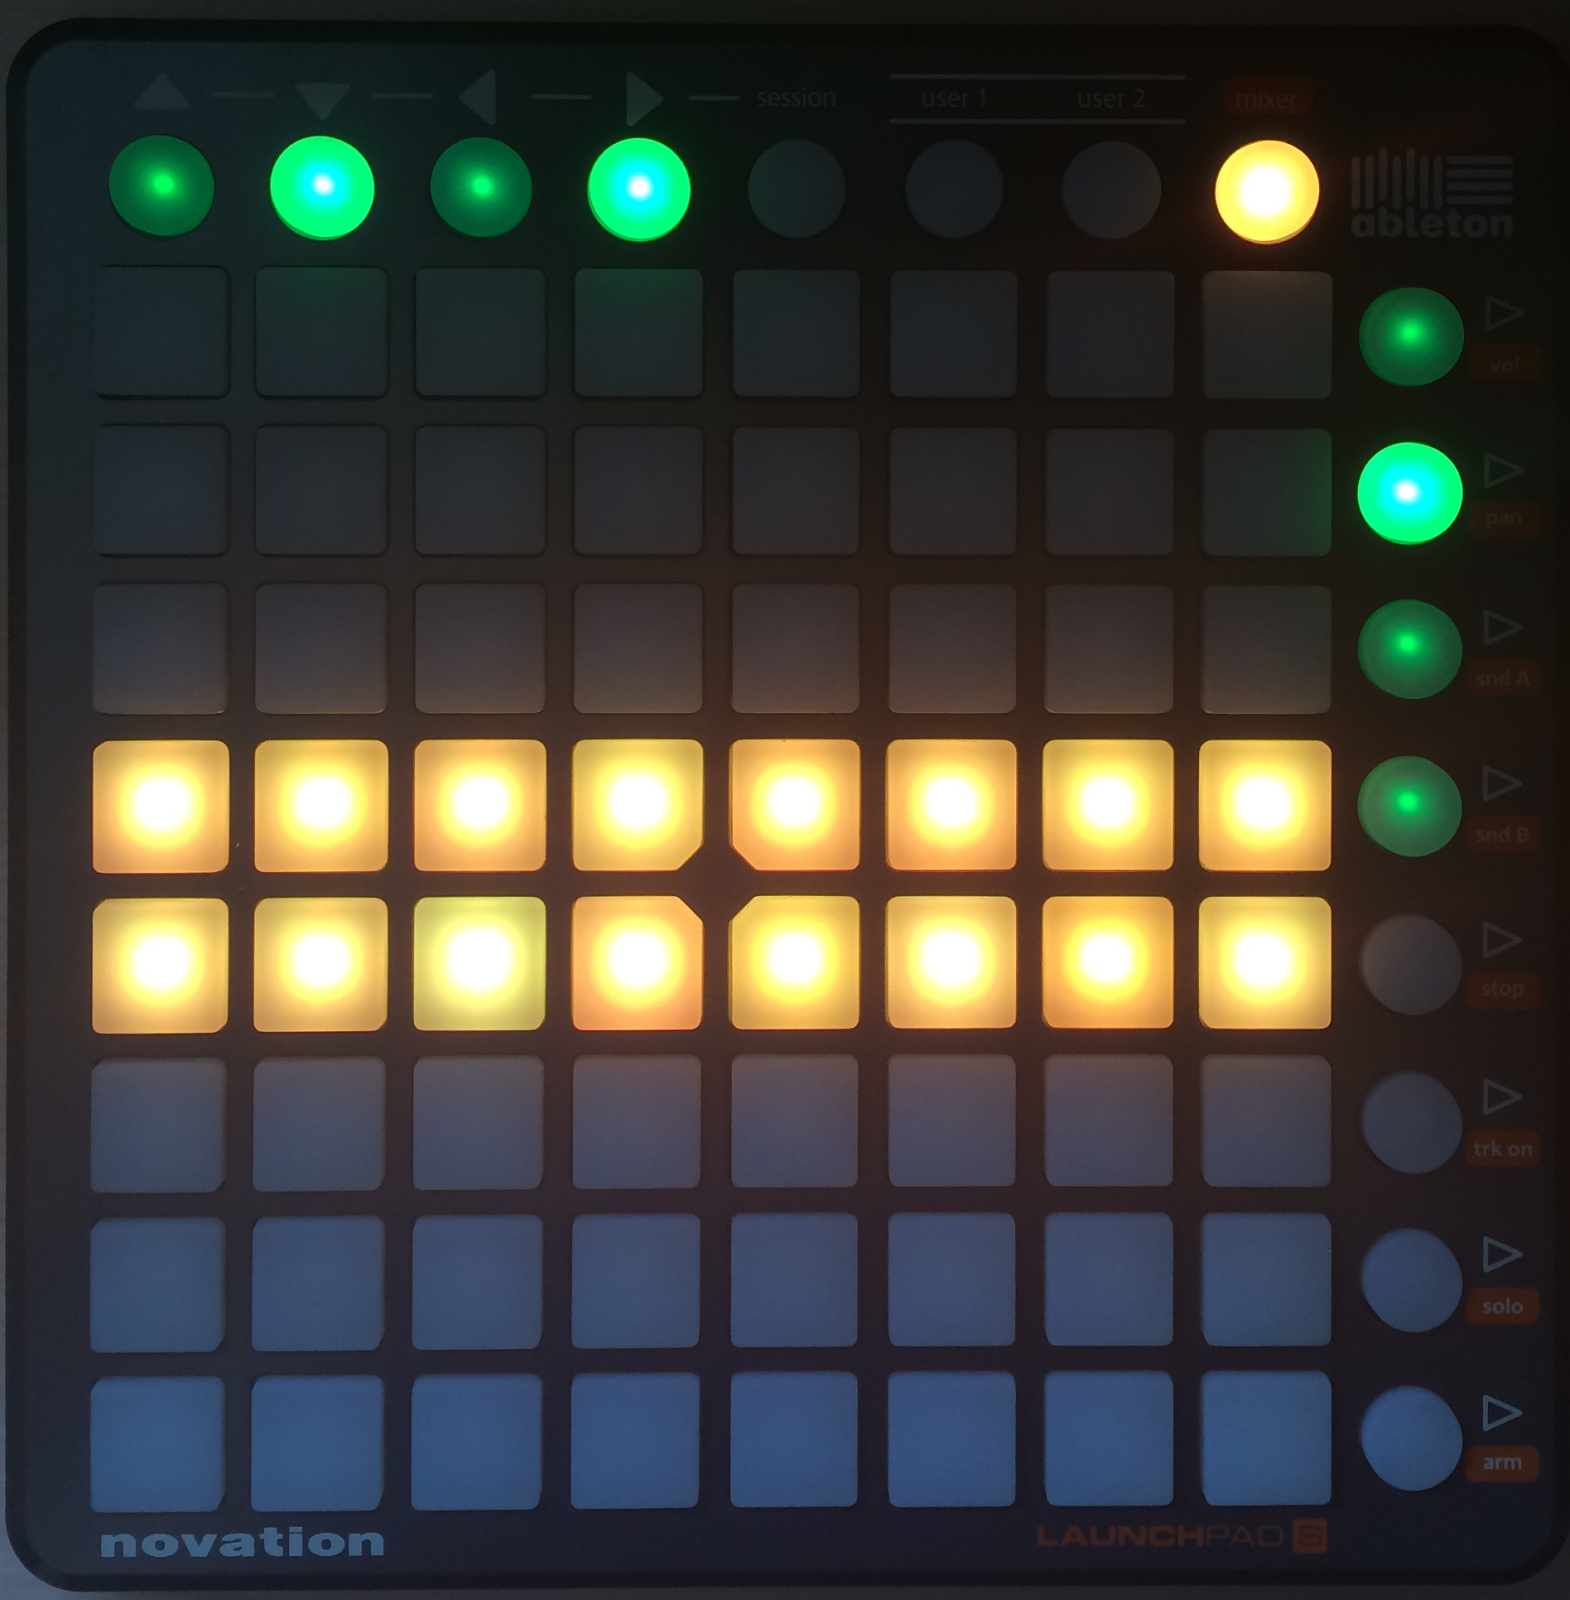


Pressing the the second side-button (pan) will take you to the Pan page.

- "Pan" is the balance of which speaker or headphone the sound plays, creating a "stereo" effect.

In the Pan page, all eight pads of a column turn into a track panorama ”knob” for the selected track, with left at the bottom and right at the top. The pads have the following values, from bottom to top: 50L, 30L, 15L, center, center, 15R, 30R, 50R. The pan control is centered when the two pads in the middle are fully lit.


The Sends pages
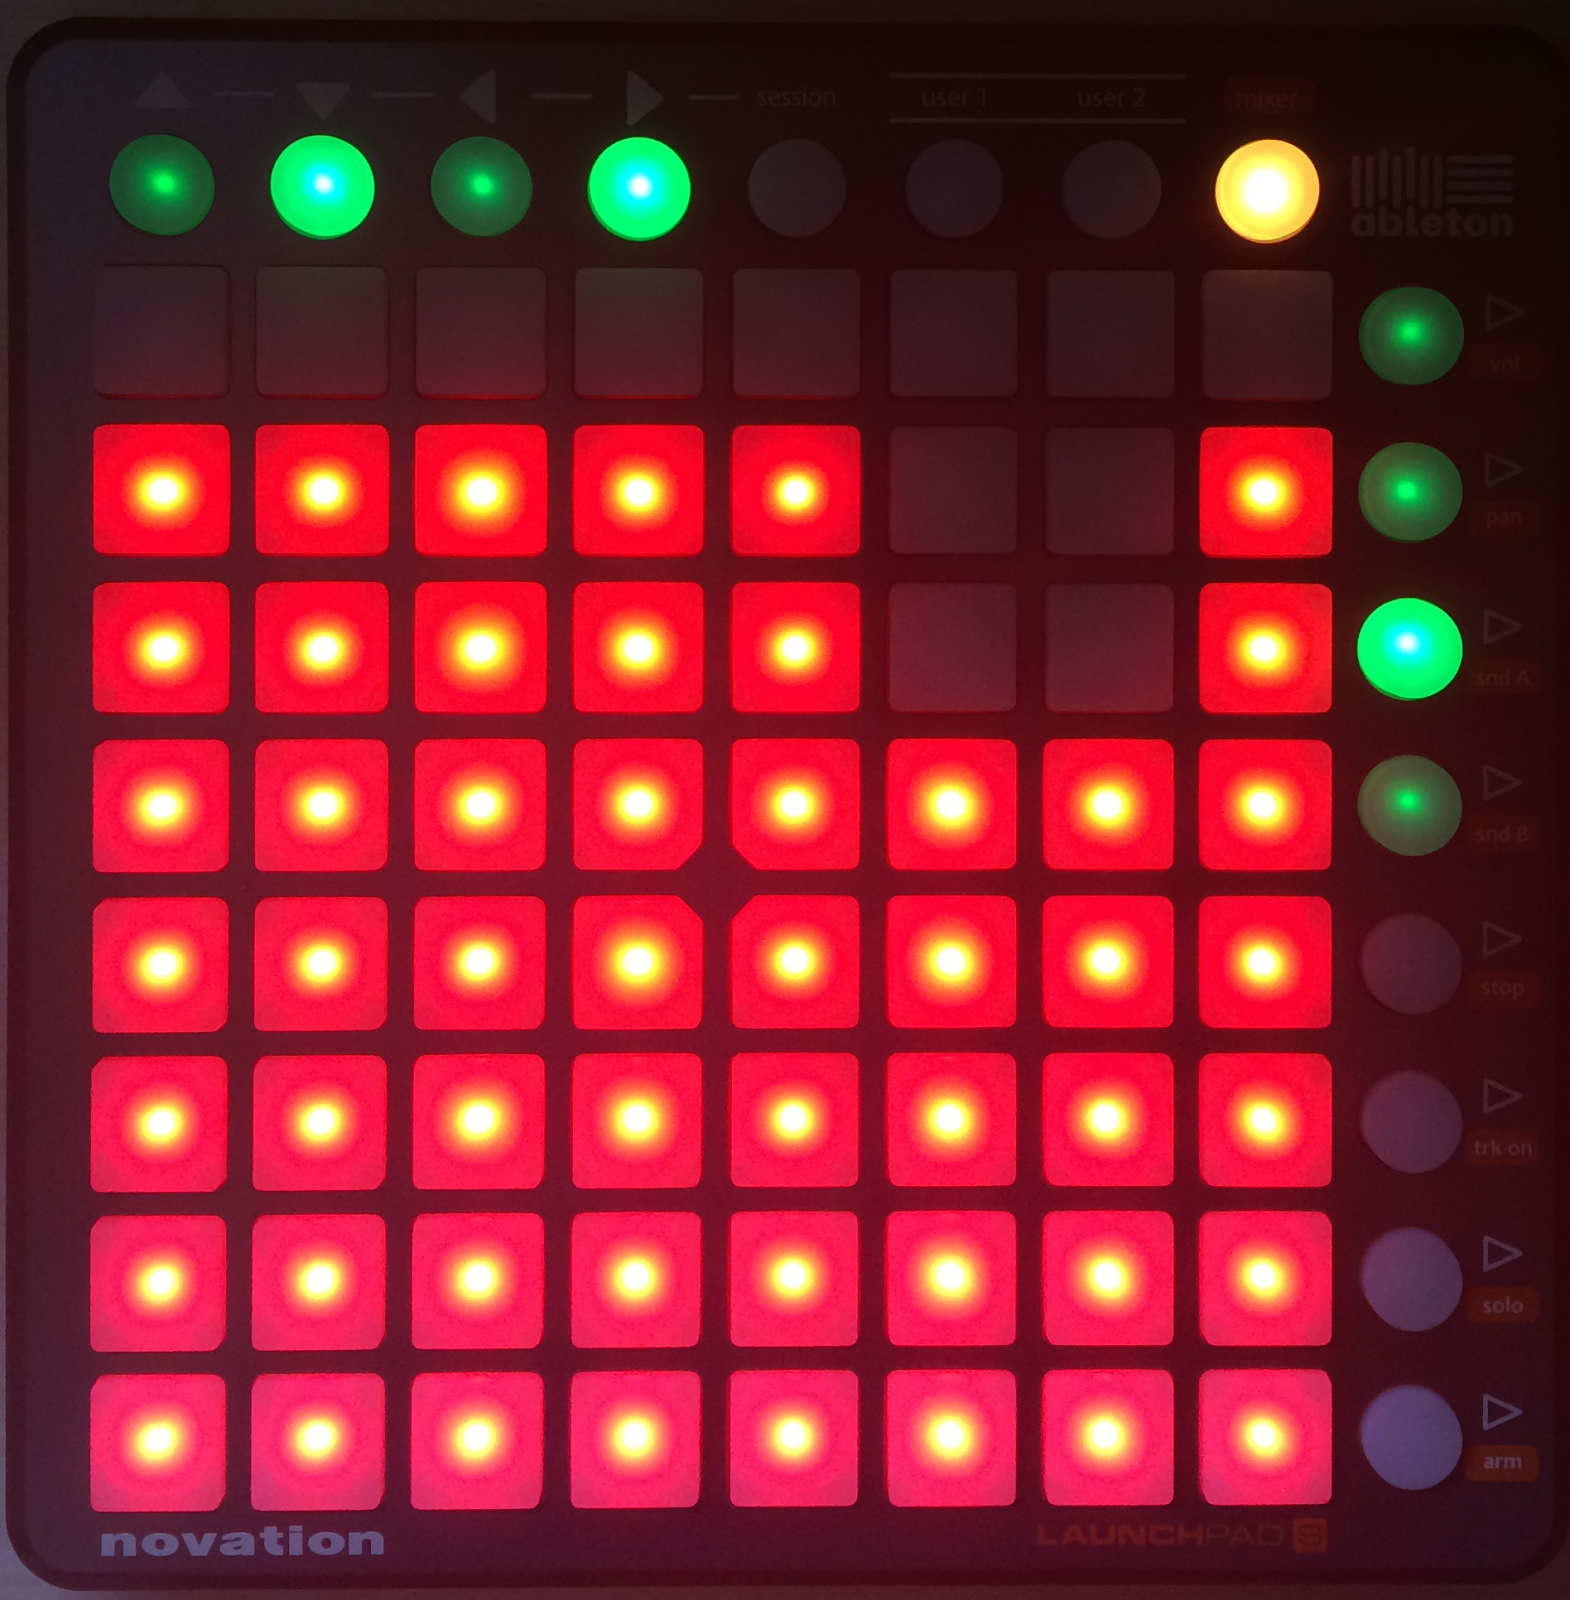


Pressing the the third and fourth side-buttons (Snd A and Snd B) will take you to the Sends pages.
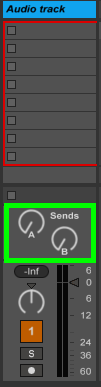
In the two Send pages, all eight pads of a column turn into a send ”knob” for the selected track. The pads have the following values in dB, from bottom to top: -inf, -48, -24, -18, -12, -6, 0, +6. All pads below (and including) the selected value light up in full brightness to indicate the ”knob position.” The behavior of this page is similar to the Volume page.


To set the sends, you can use the two Return tracks next to the Master track in Ableton, putting effect racks or single effects on them:


Now you know the basics of the Mixer mode and what it's used for!

Here is a video-tutorial by Novation explaining the Mixer mode basics:

The User 2 Mode

The User 2 mode allow the grid of 64 buttons plus the 8 vertical system buttons to be freely assigned to any parameter in Live.


This mode can be mapped to plugins, audio effect parameters, MIDI effect parameters and clips in the session mode.


Here's a video showing how the user modes work:

The User 1 Mode

In the User 1 mode, the Launchpad can be used to play note data into Live’s MIDI tracks (if no custom MIDI mappings have been made).

The user 1 mode is used mainly to control drum racks and other Live instruments/plugins such as the Grand Piano and Sylenth1.
The user 1 is capable of producing high quality lightshows.


Here's a video showing how the user modes work:


The Session Mode


In Session Mode, the Launchpad’s buttons give you physical access to the clips in your Session View.
The Launchpad's matrix has 64 three-color pads arranged in a eight-by-eight grid.
The color-coding system lets you know exactly what is happening in each clip, and directional controls let you move around inside your Session View.


When the Launchpad is connected, a rectangle appears on the Session View in Live to indicate which clips are currently controlled by the pad matrix. This rectangle is red if Launchpad is enabled in the first of Live’s six control surface choosers. Each chooser has a different colored rectangle, allowing you to assign multiple Launchpads at the same time.


The directional arrows and the Session button increase the scope of the eight-by-eight grid:

Pressing Up or Down moves you up or down one scene at a time. Holding the Session button while hitting Up or Down to move eight scenes up or down.
The Left and Right arrow keys move you left or right one track at a time. Holding the Session button while hitting Left or Right to move eight tracks at a time.


By pressing a clip, the Launchpad triggers the clip in the corresponding clip slot in Live. Hitting an empty clip slot in a track that is not armed will stop the clip playing in this track. If the track is armed to record, pressing the button records a new clip.

The buttons in the matrix light up in different colors so you know what’s going on:

Yellow: this slot contains a clip.
Green: this clip is playing.
Red: this clip is recording.

You can also fire horizontal lines of clips (Scenes) with the buttons on the right hand side of Launchpad.


The session overview:

The Launchpad’s Session Overview lets you navigate through large Live Sets quickly without looking at your computer screen.


Hold down the Session button and the matrix zooms out to reveal an overview of your Session View.
In the Session Overview, each pad represents an eight-by-eight block of clips, giving you a matrix of 64 scenes by 64 tracks.


Hit a pad to focus on that section of the Session View. For example, hitting the Session button and then pressing the pad in the third row in the first column will put the focus on scenes 17-25 and tracks 1-8. Furthermore, while “session” is held, each scene launch button represents a block of 64 scenes (if they are available in your Set.)

In the Session Overview, the color coding is a little different:

Yellow: indicates the currently selected block of clips, which will be surrounded by the ring in the software.
Green: there are clips playing in that block of clips (though that may not be the block of clips selected).
Red: there are no clips playing in that range.
No color: there are no tracks or scenes in that range.

Here's a video about the session mode: